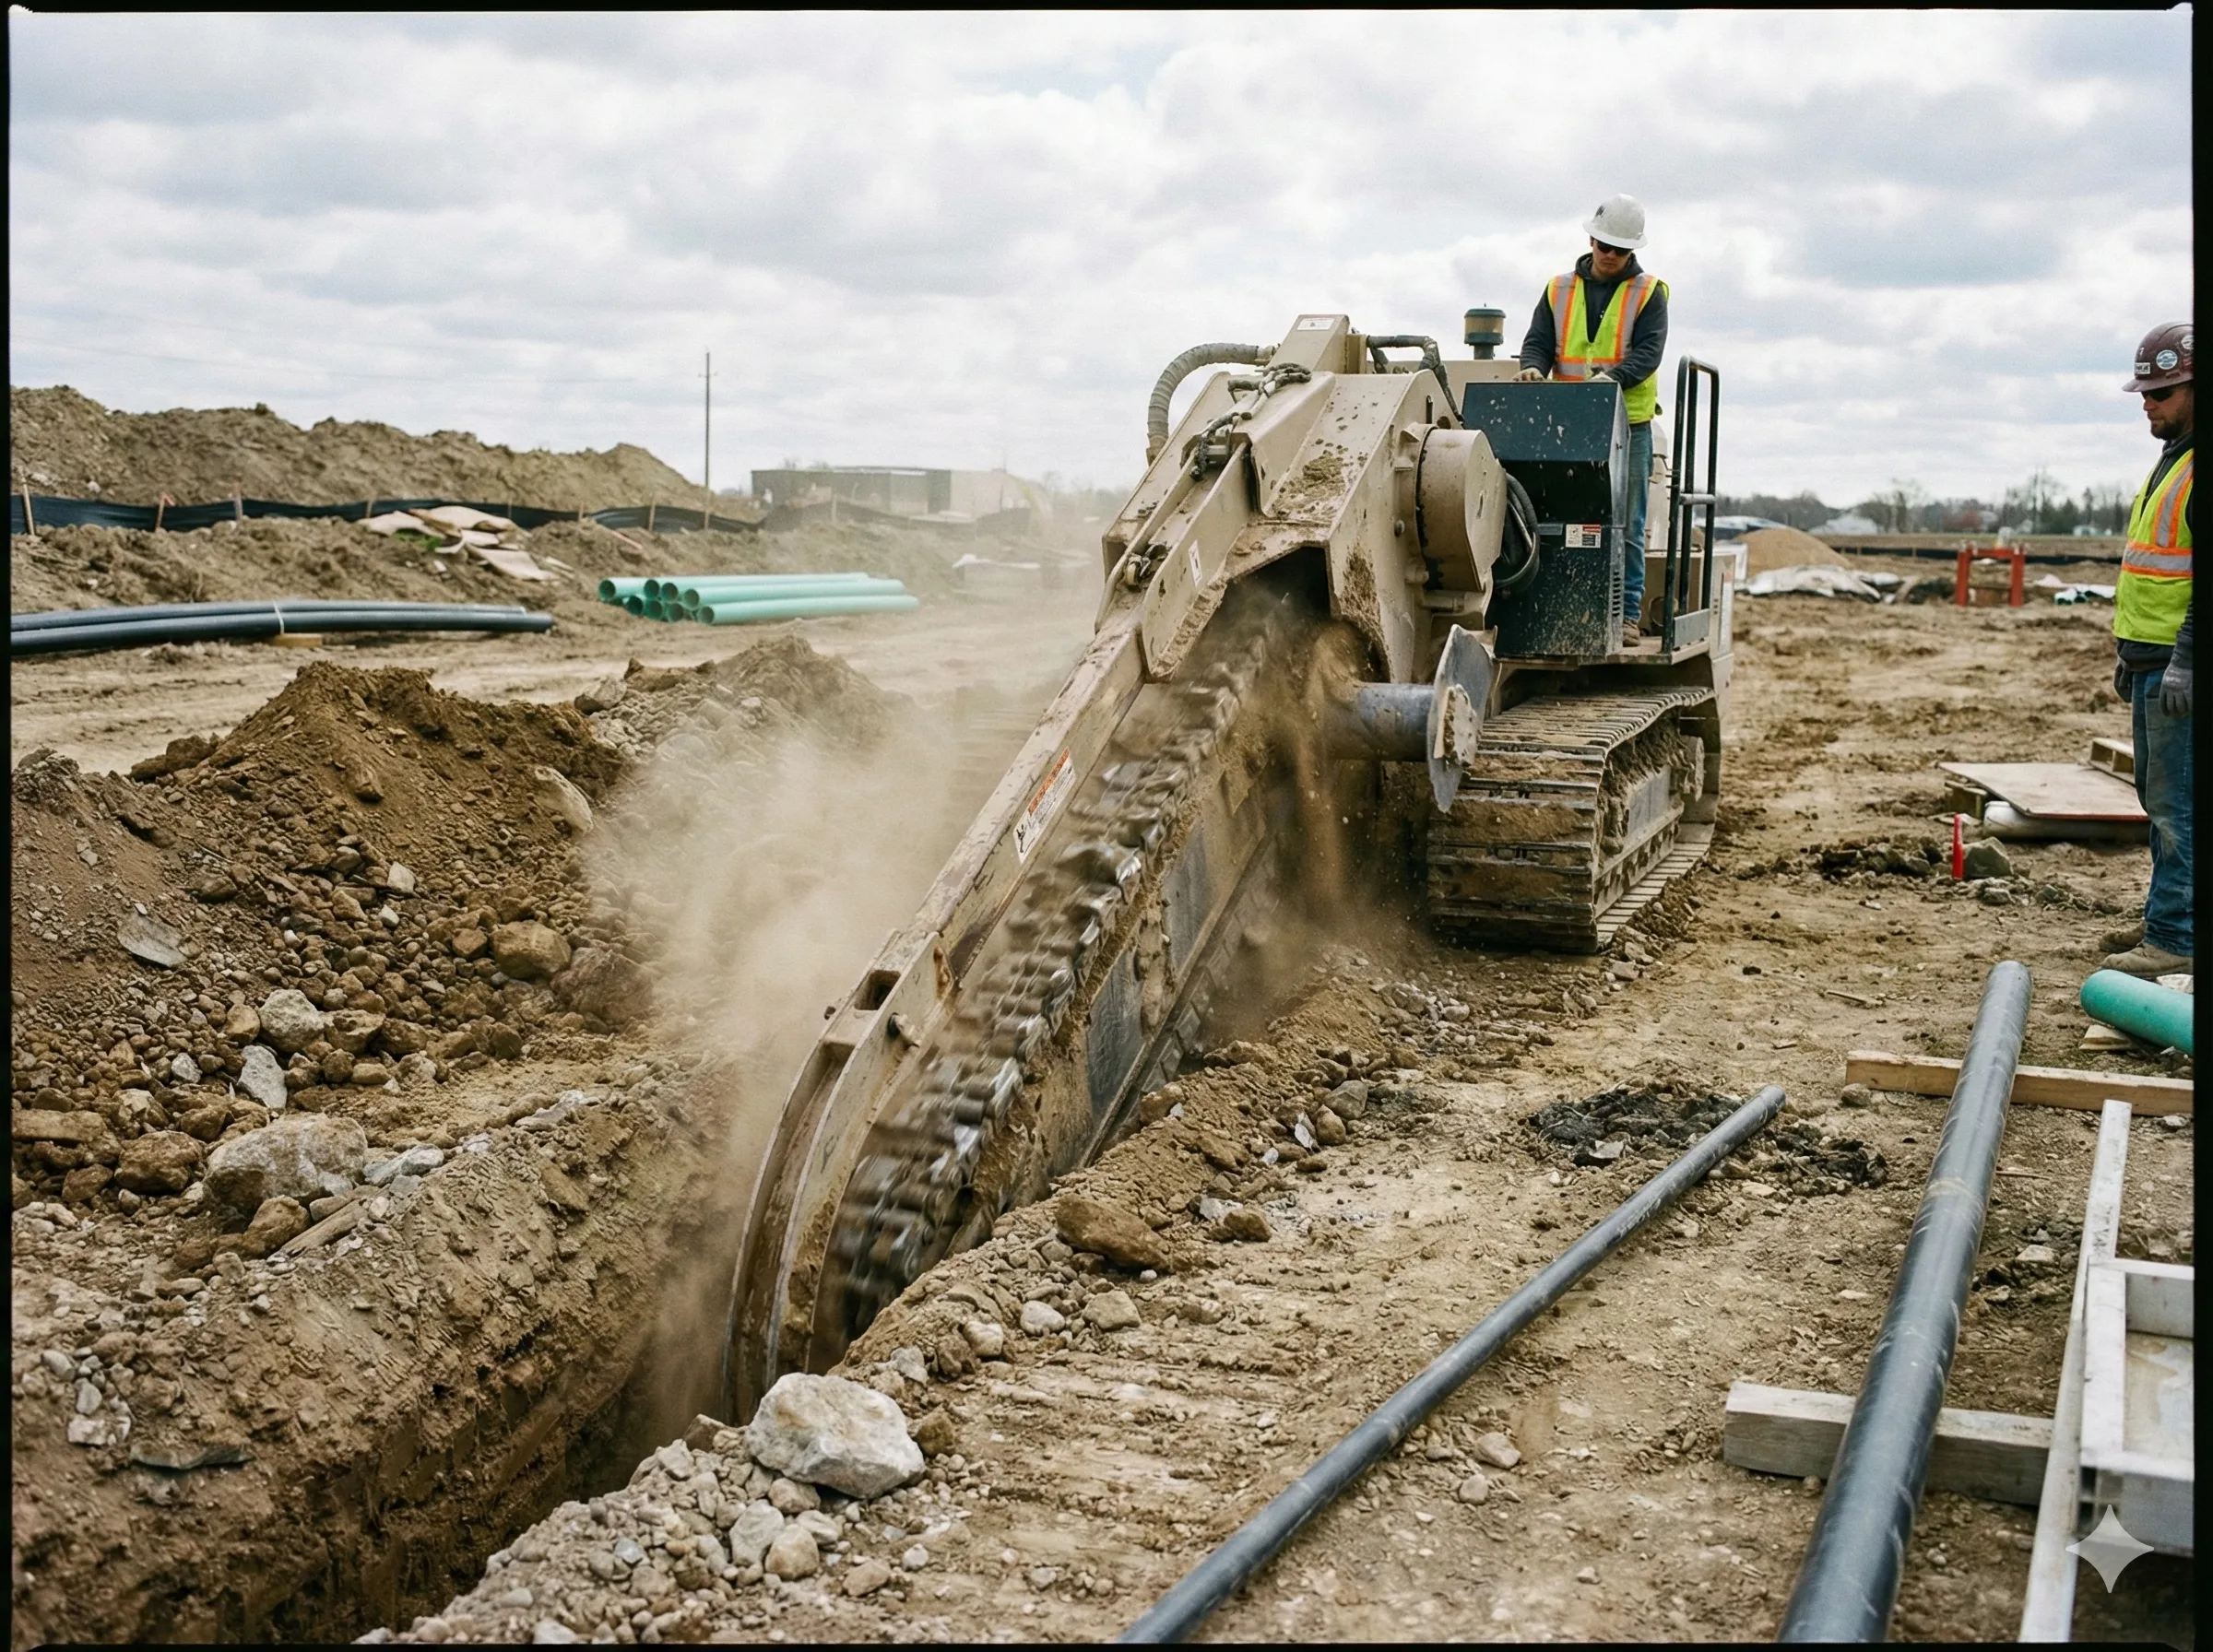
There are few household problems more immediately disastrous and costly than a compromised water line. It’s not just the inconvenience of losing your water supply; it’s the threat of property damage, foundation erosion, and sky-high utility bills that keeps homeowners up at night. Unlike a leaky faucet, which announces itself with an annoying drip, drip, drip, a break in your main supply line, often buried deep underground, can wreak havoc for weeks before the symptoms become obvious.
Fortunately, protecting your home’s critical supply line doesn't require specialized equipment—just a keen eye and a proactive approach. Understanding the subtle indicators of damage and knowing the necessary steps to confirm your suspicions can save you thousands of dollars and preserve the structural integrity of your property. When it comes to the complex system of pipes and fixtures, being observant is the best line of defense. Taking care of your home’s plumbing is one of the most important investments you can make in its longevity and value. If you suspect an issue is beyond a simple fix, professional help from a reputable company like Blue Frog Plumbing + Drain of San Antonio should be your next move.
Here are the essential, actionable steps every homeowner should take to monitor and maintain the health of their water line.
Step 1: Become a Water Meter Detective
Your water meter is the definitive tool for diagnosing a hidden leak, and it requires nothing more than a few minutes of your time. This method works for both interior and exterior line issues.
The Meter Test Procedure:
Shut Off All Water: Ensure every faucet, toilet, washing machine, dishwasher, and irrigation system is completely off. If your home has a water softener, make sure it is not in the middle of a regeneration cycle.
Record the Reading: Locate your water meter—it’s typically near the curb under a circular or rectangular metal lid, or sometimes in the basement. Note the current reading, paying close attention to the small triangular or star-shaped dial, which spins rapidly when water is flowing.
Wait and Check: Wait 30 minutes to an hour. Do not use any water during this period.
Re-Read the Meter: If the large number on the meter has changed, or if the small indicator dial is still moving, you have water flowing somewhere, indicating a leak.
This test eliminates guesswork and tells you definitively that a problem exists. If the meter is running, the next step is locating the source.
Step 2: Listen for the Unexplained Sounds
A healthy water line is silent. If you hear sounds of rushing water when all your fixtures are off, it is a significant red flag. This noise can be particularly noticeable late at night when the house is quiet. Walk around your property, especially near the main shut-off valve, foundation, and areas where the main line enters the house. A consistent hissing, trickling, or bubbling sound often means water is actively escaping a compromised pipe.
Step 3: Inspect Your Yard and Landscaping
Since the main water line runs underground, the ground itself will show the earliest and most dramatic signs of a leak.
Look for Abnormal Saturation: An isolated patch of lawn that remains unusually green, soft, or soggy—even when the rest of your yard is dry—is a clear indicator. The broken line is feeding that specific area with water.
Watch for Sinkholes or Puddles: If enough soil is displaced by a sustained leak, you may notice unexplained puddles or even small sinkholes beginning to form in your yard or driveway. These are not merely drainage issues; they represent a serious erosion problem caused by pressurized water.
Check for Foundation Damage: Leaking water near your home’s foundation can lead to costly structural damage. Look for new or expanding cracks in concrete slabs, basement walls, or exterior brickwork. Travelers Insurance provides helpful visuals that can help you identify common signs of interior and exterior plumbing problems, including discoloration and pipe corrosion.
Step 4: Monitor Your Water Pressure and Quality
A sudden or gradual reduction in water pressure throughout your home is a textbook sign of a water line leak. When water escapes before reaching your fixtures, the system’s pressure drops.
Additionally, a damaged line can allow contaminants to enter your supply. Be vigilant about changes in water quality:
Discoloration: If your tap water suddenly appears rusty (brown/red) or cloudy, the pipe itself may be corroding, or soil and sediment may be entering the line through a crack.
Air in the Lines: A pipe breach can introduce air into the system, causing faucets to spit or sputter briefly when turned on.
Taste or Odor: While rare, a rotten egg smell can sometimes indicate that sewage or contaminated groundwater is mixing with your supply, a critical emergency that requires immediate attention.
Step 5: Proactive Maintenance and Prevention
The most effective way to avoid a catastrophic failure is to manage the things that cause damage: pressure and roots.
Check Your Water Pressure: Excessive water pressure is a leading cause of premature pipe failure. Use a simple pressure gauge (available at any hardware store) on an outdoor hose bibb to ensure your pressure stays below 80 PSI. Ideally, it should be between 40-60 PSI. High pressure puts unnecessary strain on all connections, fixtures, and appliances. The U.S. Environmental Protection Agency (EPA) WaterSense program has resources detailing how to check your water meter and pressure.
Mind Your Tree Roots: Tree roots naturally seek out water sources. If you have large trees near your buried water line, consider having a professional inspection done. Roots exploit the smallest crack to access water, and once inside, they expand, turning a tiny problem into a complete obstruction and break.
The main water line is the lifeline of your home. By conducting regular meter checks and keeping an eye on the subtle signs above ground, you can detect a problem early, addressing a minor repair before it spirals into a major, property-threatening emergency.


